Create a Retrospective Invitation campaign
In this article, we discuss the what a Retrospective Invitation campaign is, and the importance of running one.
What is a Retrospective Invitation campaign?
The goal of betterbunch is to help you follow up with every customer after a job is complete. If you're new to the platform, the best place to start is by sending a feedback invitation to every customer you have serviced in the past 12 to 24 months.
We call this a retrospective invitation, and trust us; it's a game-changer!

Why send retrospective invitations?
Yes—it has been some time since your last interaction, but these customers still have valuable experiences to share. Sending a feedback invitation to them now can lead to a surge in positive reviews.
A Retrospective Invitation campaign can also help highlight any problems you may have overlooked recently, giving you the chance to save repeat business.
How to create a Retrospective invitation campaign.
- Prepare a list of customers you've worked with over the past 12 to 24 months
- Format the list
- Send the invitations by uploading the list to your betterbunch account
To watch an overview of how to set up a Retrospective Invitation Campaign, check out the video below:
Step 1: Prepare a list of past customers
To begin your Retrospective Invitation campaign, compile a list of past customers. We recommend this list includes every customer you have serviced in the past 12 to 24 months.
Tip: If you use Xero, check out this article for step-by-step instructions on exporting your customer list from Xero.
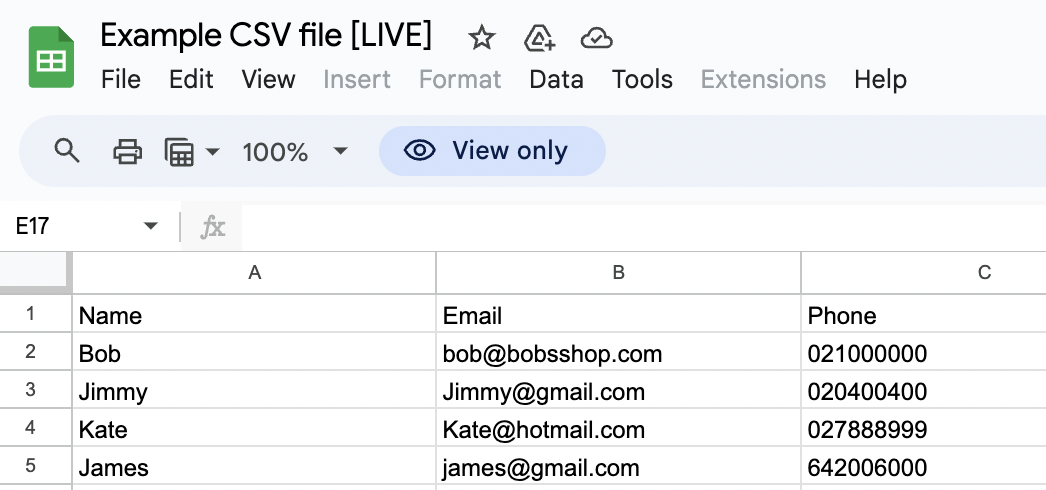
The list of customers needs to be in a spreadsheet similar to the example below, and include their first name, mobile number and/or email address.

Most job management and invoicing platforms allow you to export customer data in formats such as Excel, Google Sheets, or CSV. We recommend downloading your Retrospective list directly from your software provider whenever possible, as it can save you time.
If you need support downloading a list of your recent customers from your software platform, consider reaching out to your software support team with the email template provided below.
"Hey team,
I was hoping you could help me out.
We want to download a list of every client we've serviced in the past 24 months. Can you please help us generate this list? For reference, here's an example of what it needs to look like.
It needs to be in Excel, Google Sheets or .csv format and contain:
a) The customer's first name
b) Their email address
c) Their mobile phone number
Step 2: Format the list
Before sending your Retrospective invitations, it’s important the list is clean and properly formatted. Please take a moment to review the requirements for your import files outlined below.
- CSV. file format: Your data spreadsheet must be saved in CSV (comma-separated value) format.
- Single Sheet only: The data spreadsheet should include one sheet only.
- Column headers: Row 1 of your spreadsheet must contain column headers. Column headers help betterbunch identify which column contains the data that corresponds to the matching field in your invitations. Acceptable names include:
- 'Name', 'first name', 'recipient name' 'Given Name' or 'customer name'
- 'Email' 'e-mail' or 'email address'
- 'Phone', 'phone number', 'mobile', cell phone' or 'mobile number'
- Accurate customer names: Your customer will be addressed by the name displayed in the name column. Therefore, we recommend including first names only to help personalise your invitations.
- Accepted phone number format: betterbunch can send SMS invitations to New Zealand and Australian phone numbers in the below formats:
-
- +642xxx (with the NZ dialling code)
- +614xxx (with the AUS dialling code)
- 02xxxxx (without the dialling code)
- 2xxxxxx (without '0' before the number)
- Required data: A CSV file must contain a column header for 'Name' and either 'Phone' or 'Email' header to be accepted.
- Comprehensive data: For an invitation to be created, your CSV file must include a cellphone number or an email address for each contact.
- Maximum and minimum data per cell: Each cell should only contain one phone number or email address only.
Note: if you have any trouble preparing your customer list, reach out to us here for help.
Step 3: Send your invites by uploading your Retrospective list
Now that you've created a list of past customers and formatted the list to suit, it's time to press play on your Retrospective Invite campaign. Follow the steps below to upload your CSV file.
- Log in to betterbunch.
- Click Create invitation in the top right of your dashboard.
- Navigate to the bulk upload tab.
- Select Browse to upload your customer list from your computer.
- Before clicking send, we suggest editing your invite to suit your brand tone and contact journey. This is a great way to increase interactions with your invites.
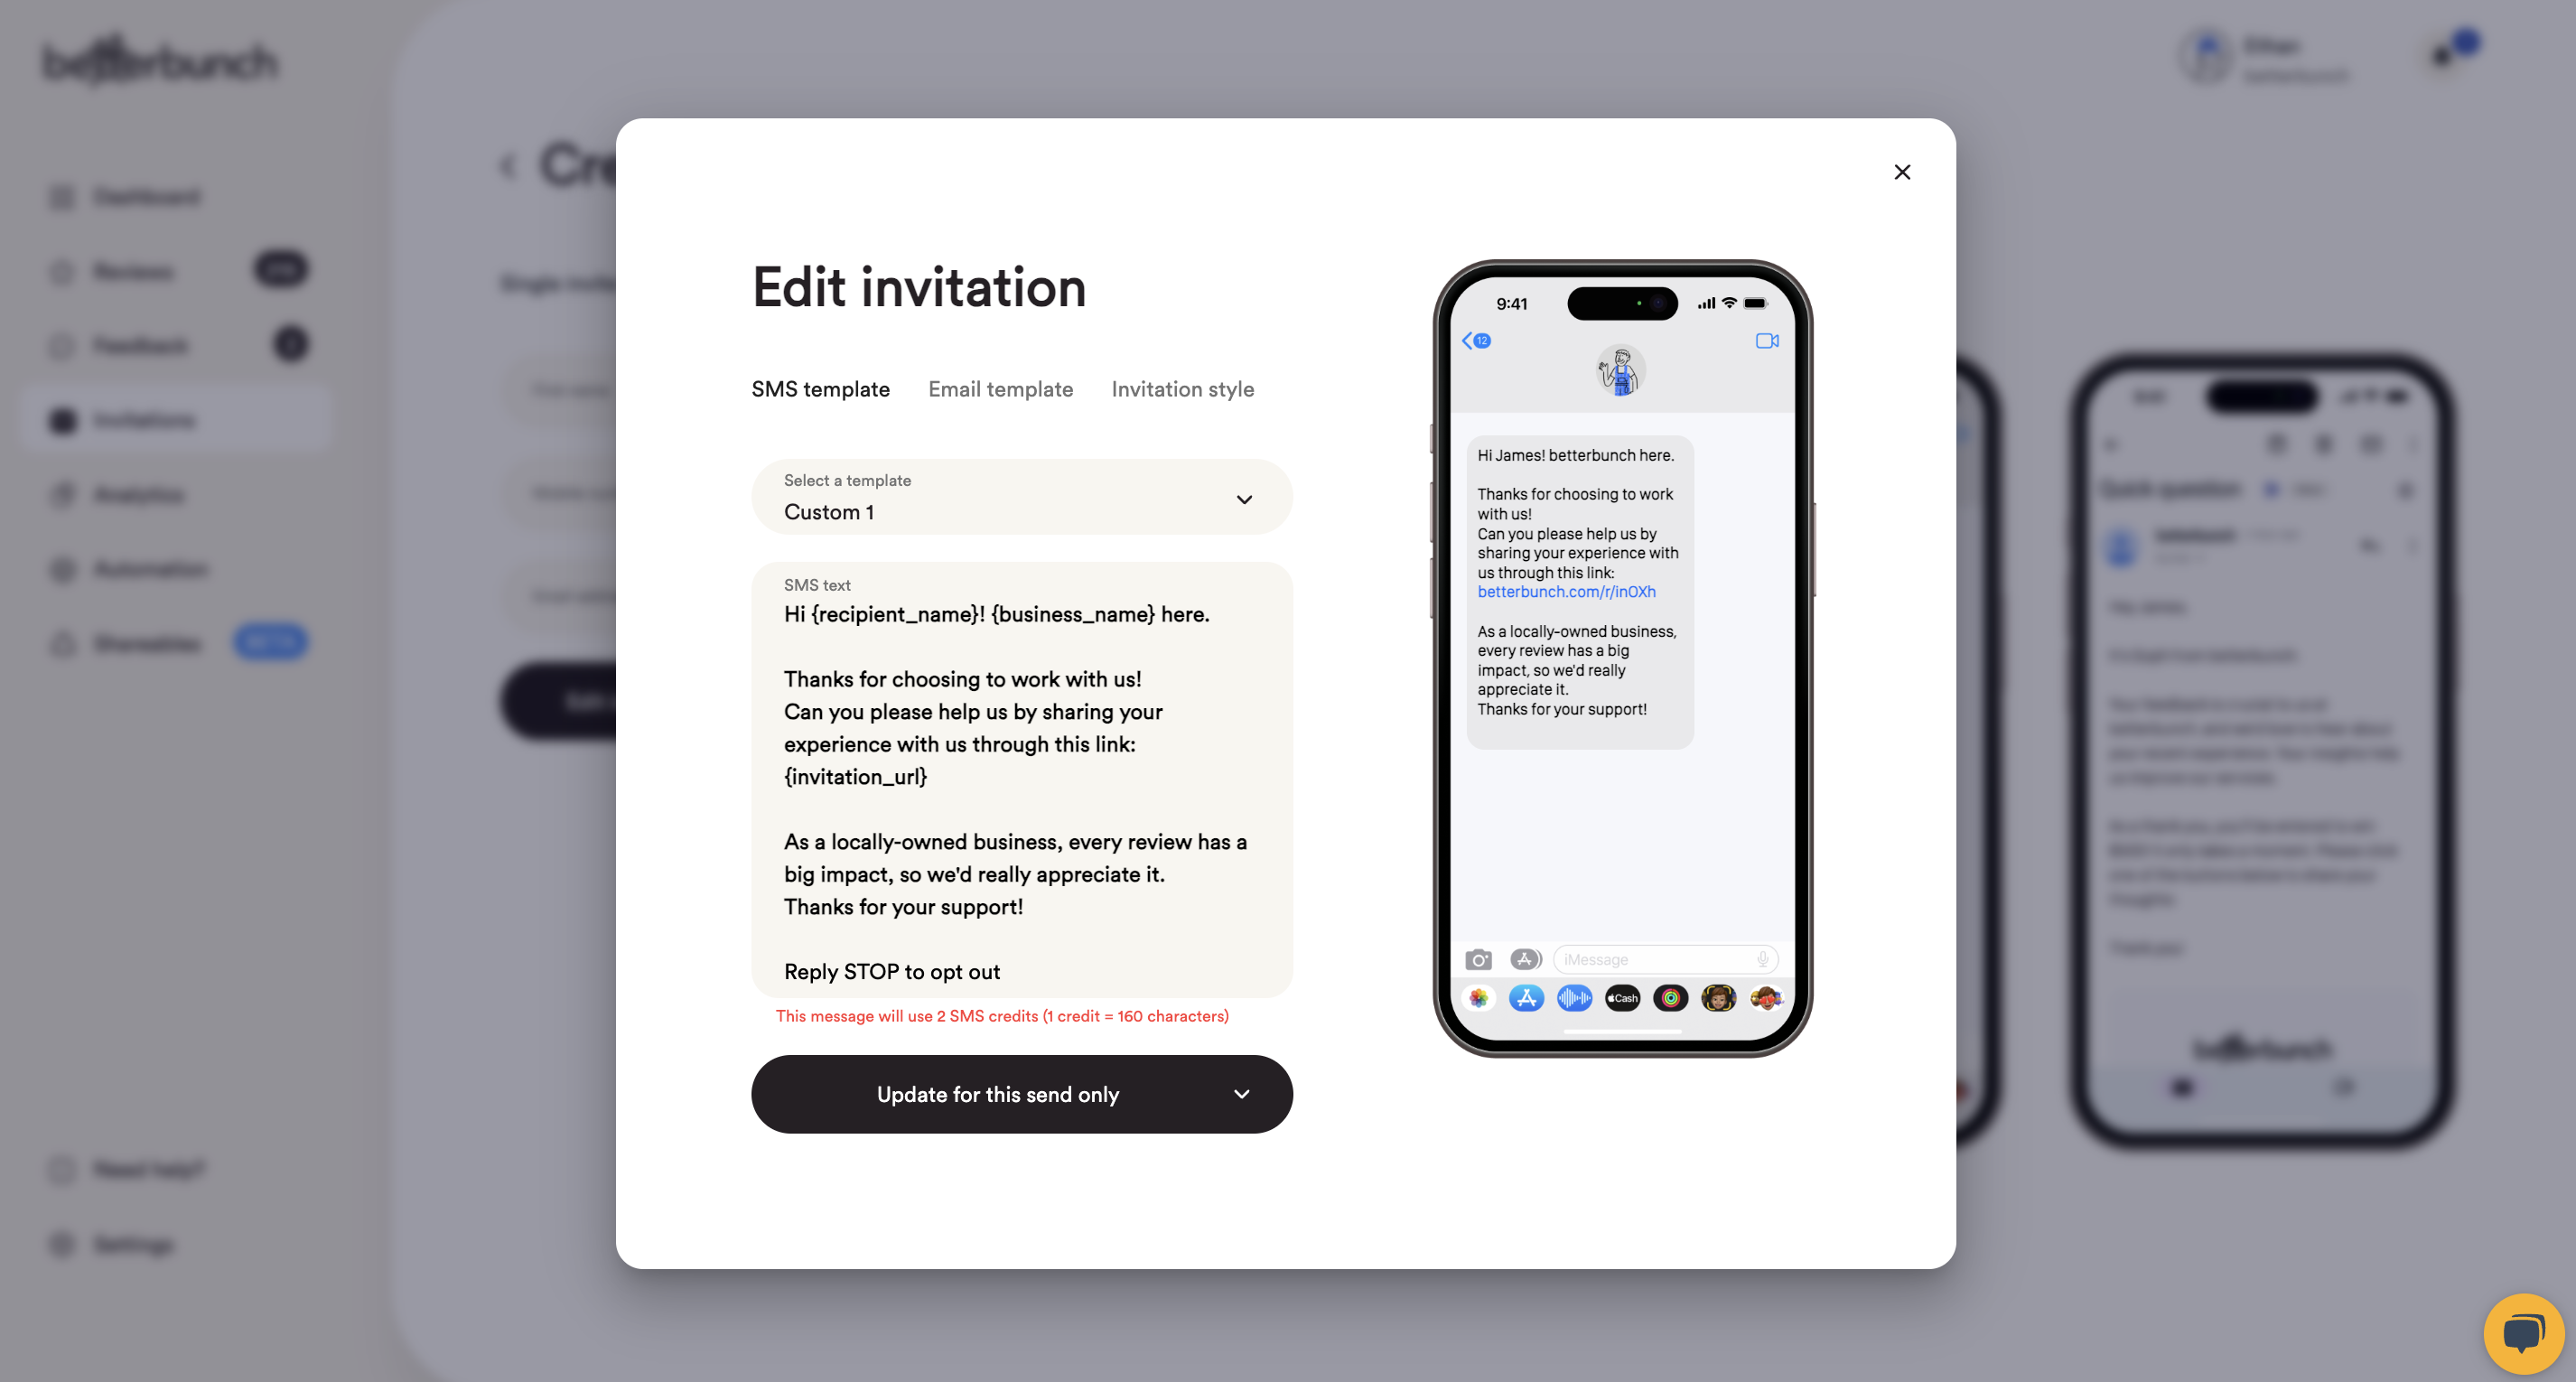
- Click Edit Invitation.
- From the Select a Template dropdown, choose a prewritten message or type your own text in the Custom 1 > 5 textbox. Feel free to copy and paste our example below.
Hi {recipient_name}! {business_name} here.
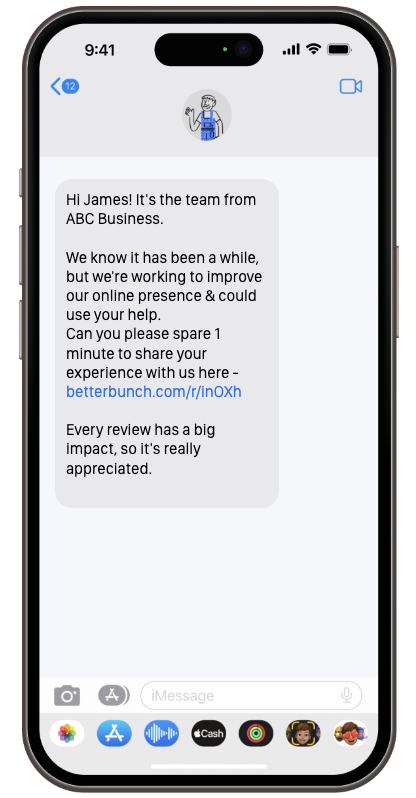
We know it's been a while, but we'd appreciate it if you could take 1 minute to share your experience with us through the link below -
{invitation_url}
Every review has a big impact, so thank you for taking the time to support us.
- Click Update for this send only to save your changes.
- Similarly, consider changing your email invitation template to something more 'on-brand' too.
- Click Edit Invitation, then navigate to the email template tab and type your message. Feel free to copy and paste the example below.
Hi {recipient_name},
Thanks for choosing us for your job. We know it has been a while, but we're very interested in hearing your thoughts on our service. Your feedback can help us grow and improve our offerings, so it's really appreciated.
Simply click the buttons below to let us know how we did.
We hope to hear from you again soon,
The {business_name} team - Click Update for this send only to save your changes.
- Click Edit Invitation, then navigate to the email template tab and type your message. Feel free to copy and paste the example below.
- Click Send Invitation, and choose to send your invites now, or schedule them to send at your preferred time. And you're done!
Note: If you have any trouble preparing, formatting, or uploading your customer list, contact us here for help.
Happy inviting!