When you connect Xero with betterbunch, you can tailor how invitations are filtered and sent. Automation rules help you control when, how, and who invitations are delivered to.
At a Glance: Xero Automation Rule Types
| Rule Type | What It Does | Example Use Case |
|---|---|---|
| Triggers | Decides when invoices create invitations. | Send invites when an invoice is approved or paid. |
| Keywords | Filters invites based on keywords in the invoice. | Block invites for invoices with “deposit.” |
| Cool-off | Prevents repeat invites within a set timeframe. | Only send once every 180 days per client. |
| Sending delay | Defers invites for a set number of days. | Wait 5 days before sending. |
| Sending times | Suspend invites from sending outside business hours. | Send at 9am. |
Before You Start
To manage automation rules:
-
Log in to your betterbunch account.
-
Go to the Settings page from the left menu.
-
Open the Rules tab.
All rule settings are managed from here.
Trigger Settings
What it is: Triggers decide when an invoice in Xero will create an invitation. You can set invitations to send when an invoice is either:
-
Invoice Approved
-
Payment complete (reconciled)
Best practice:
We recommend using Invoice approved to request feedback quickly after work is finished. Quick invitations increase response rates.
Limitations:
-
Invitations may still be blocked if other rule checks (keywords, cool-off, etc.) apply.
-
Xero credit notes affect triggers:
-
If Trigger settings are configures to send invites on Payment Complete, a full credit note cancels the invite if the
-
A partial payment + partial credit note will not trigger the invite.
-
How to set triggers:
-
In Rules, select Automation Rules.
-
Select Edit.
-
Choose Invoice approved or Payment complete.
-
Click Save.
Keyword Settings
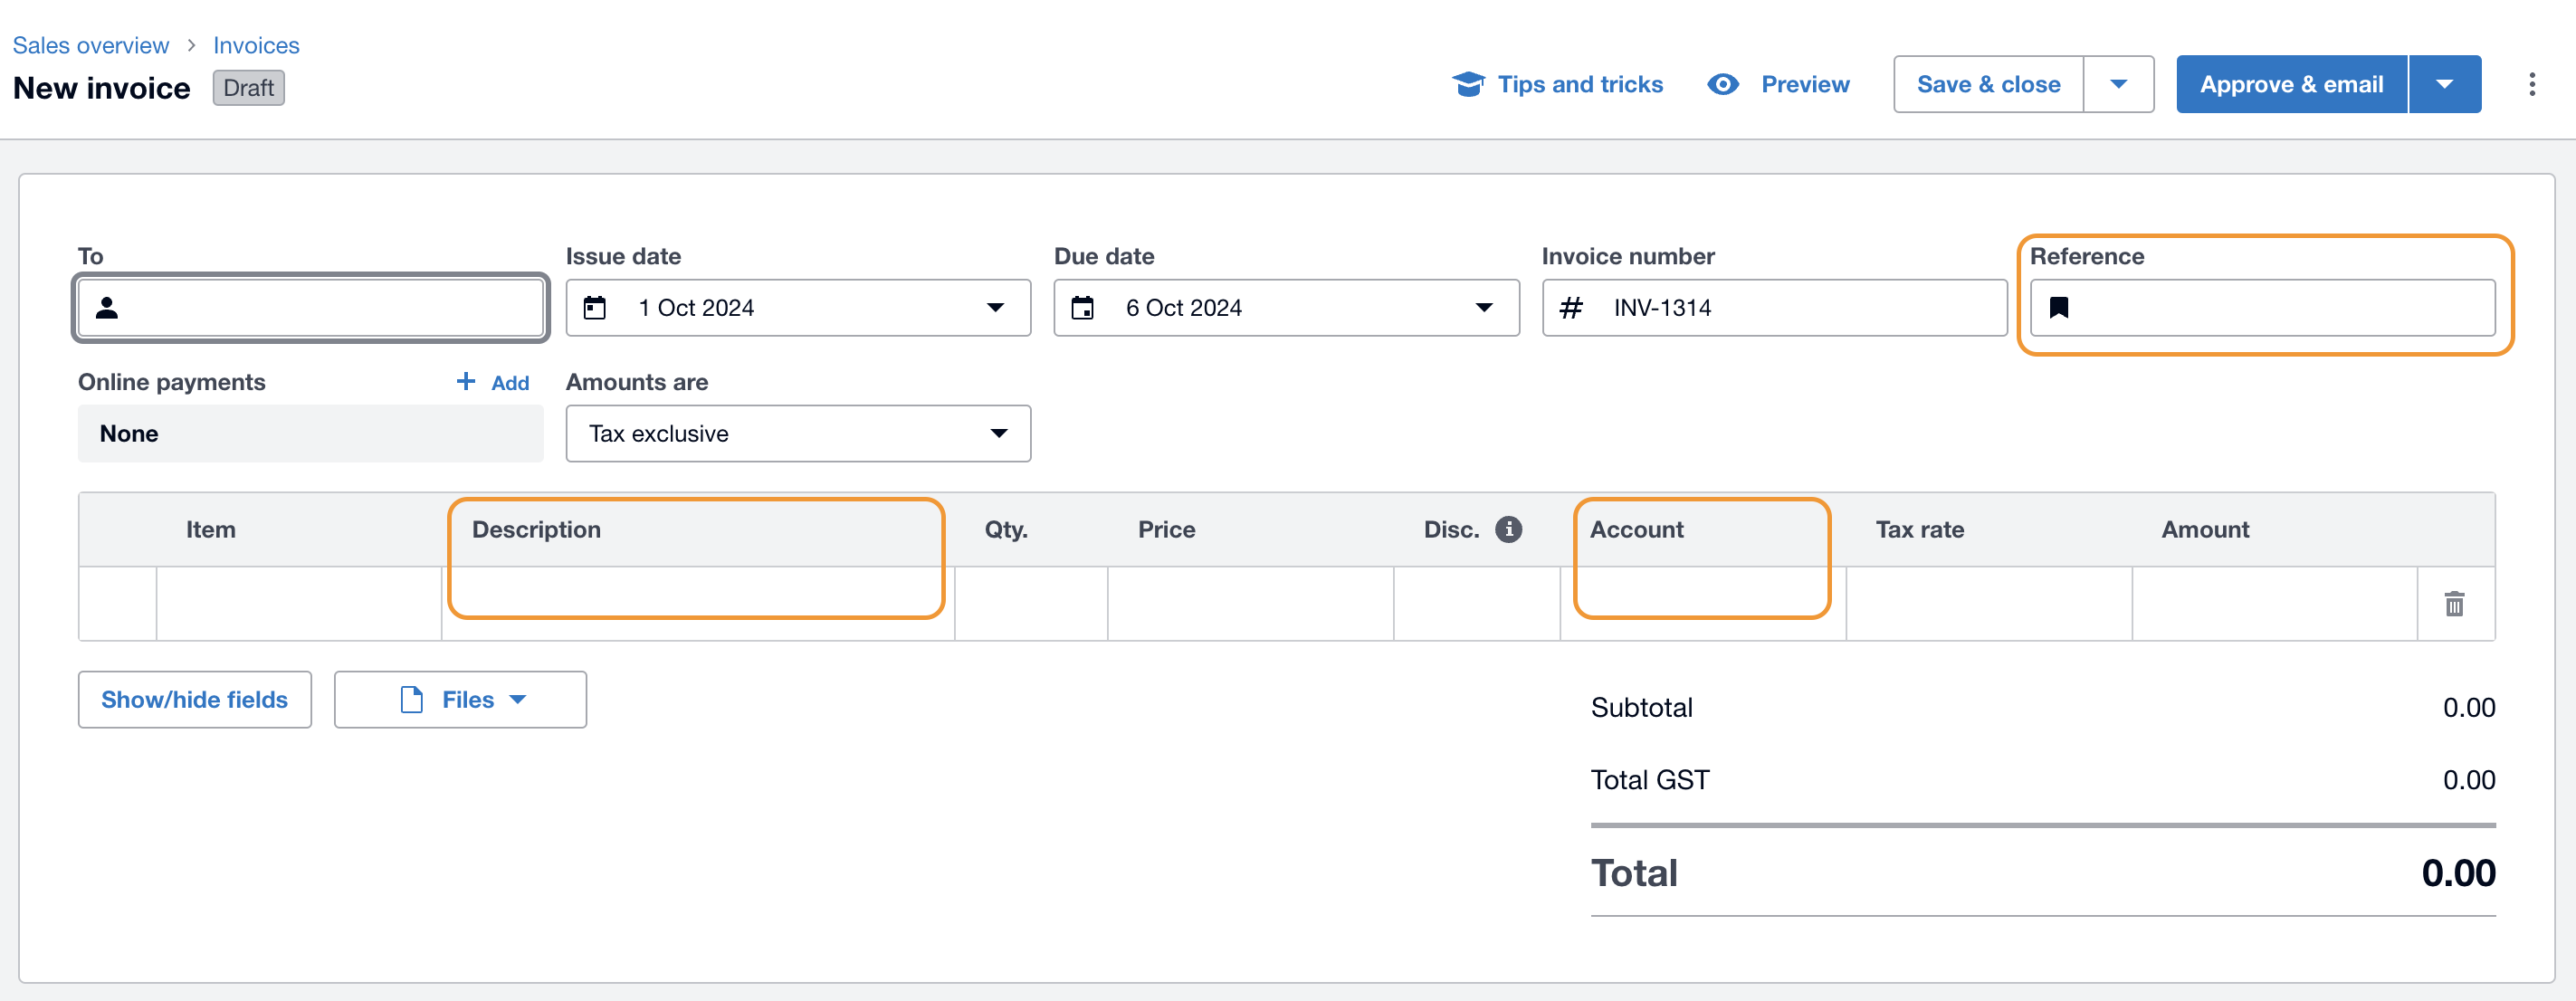
What it is: Keyword filters scan invoice reference, description, and account fields for keywords or phrases.
You can configure:
-
Don’t send invites → Block any invite containing your keywords.
-
Send invites only if → Allow invites only when keywords are present.
Example:
Block deposit invoices by setting Don’t send invites for the keyword deposit.
How to set keyword filters:
-
In Rules, scroll down to Keyword settings.
-
Select from the drop-down: Send invites, or Don’t send invites.
-
Add your keywords.
-
Click Save.
Cool-Off Period
What it is: Prevents sending repeat invites to the same contact within a defined timeframe.
Example:
Set a cool-off period of 180 days to send only one invite every six months to repeat clients.
How it works:
-
If a contact is still in the cool-off period, betterbunch deletes the invitation automatically.
How to set:
Learn how to set your cool-off period here.
Sending Delay
What it is: Defers invitations for a chosen number of days after the trigger conditions are met.
Best practice:
Start with a 5-day delay to monitor generated invitations before sending them to customers. Later, reduce to 1 day for timely feedback.
How to set delay:
-
In Rules, scroll down to Sending delay.
-
Enter the number of days (e.g., 1–10).
-
Click Save.
Sending Times
What it is: betterbunch delivers invitations at the best send time within 24 hours of the trigger. Our data ensures invites are sent when recipients are most likely to open them.
Customisation:
You can adjust this with quiet time settings.