This article provides a guide on preventing contacts from receiving invitations by adding them to your blocklist
If you have contacts you'd prefer didn't receive follow-up invitations, you can add them to your blocklist, which will block all invites from being delivered to them.
Tip: If you have regular customers you would like to send invitations to periodically, use the Cool Off Period setting to block repeated invitations from sending in a given time period.
Adding one contact to your blocklist
-
Login to your betterbunch account
-
Head to the Settings page on the bottom left of your dashboard
-
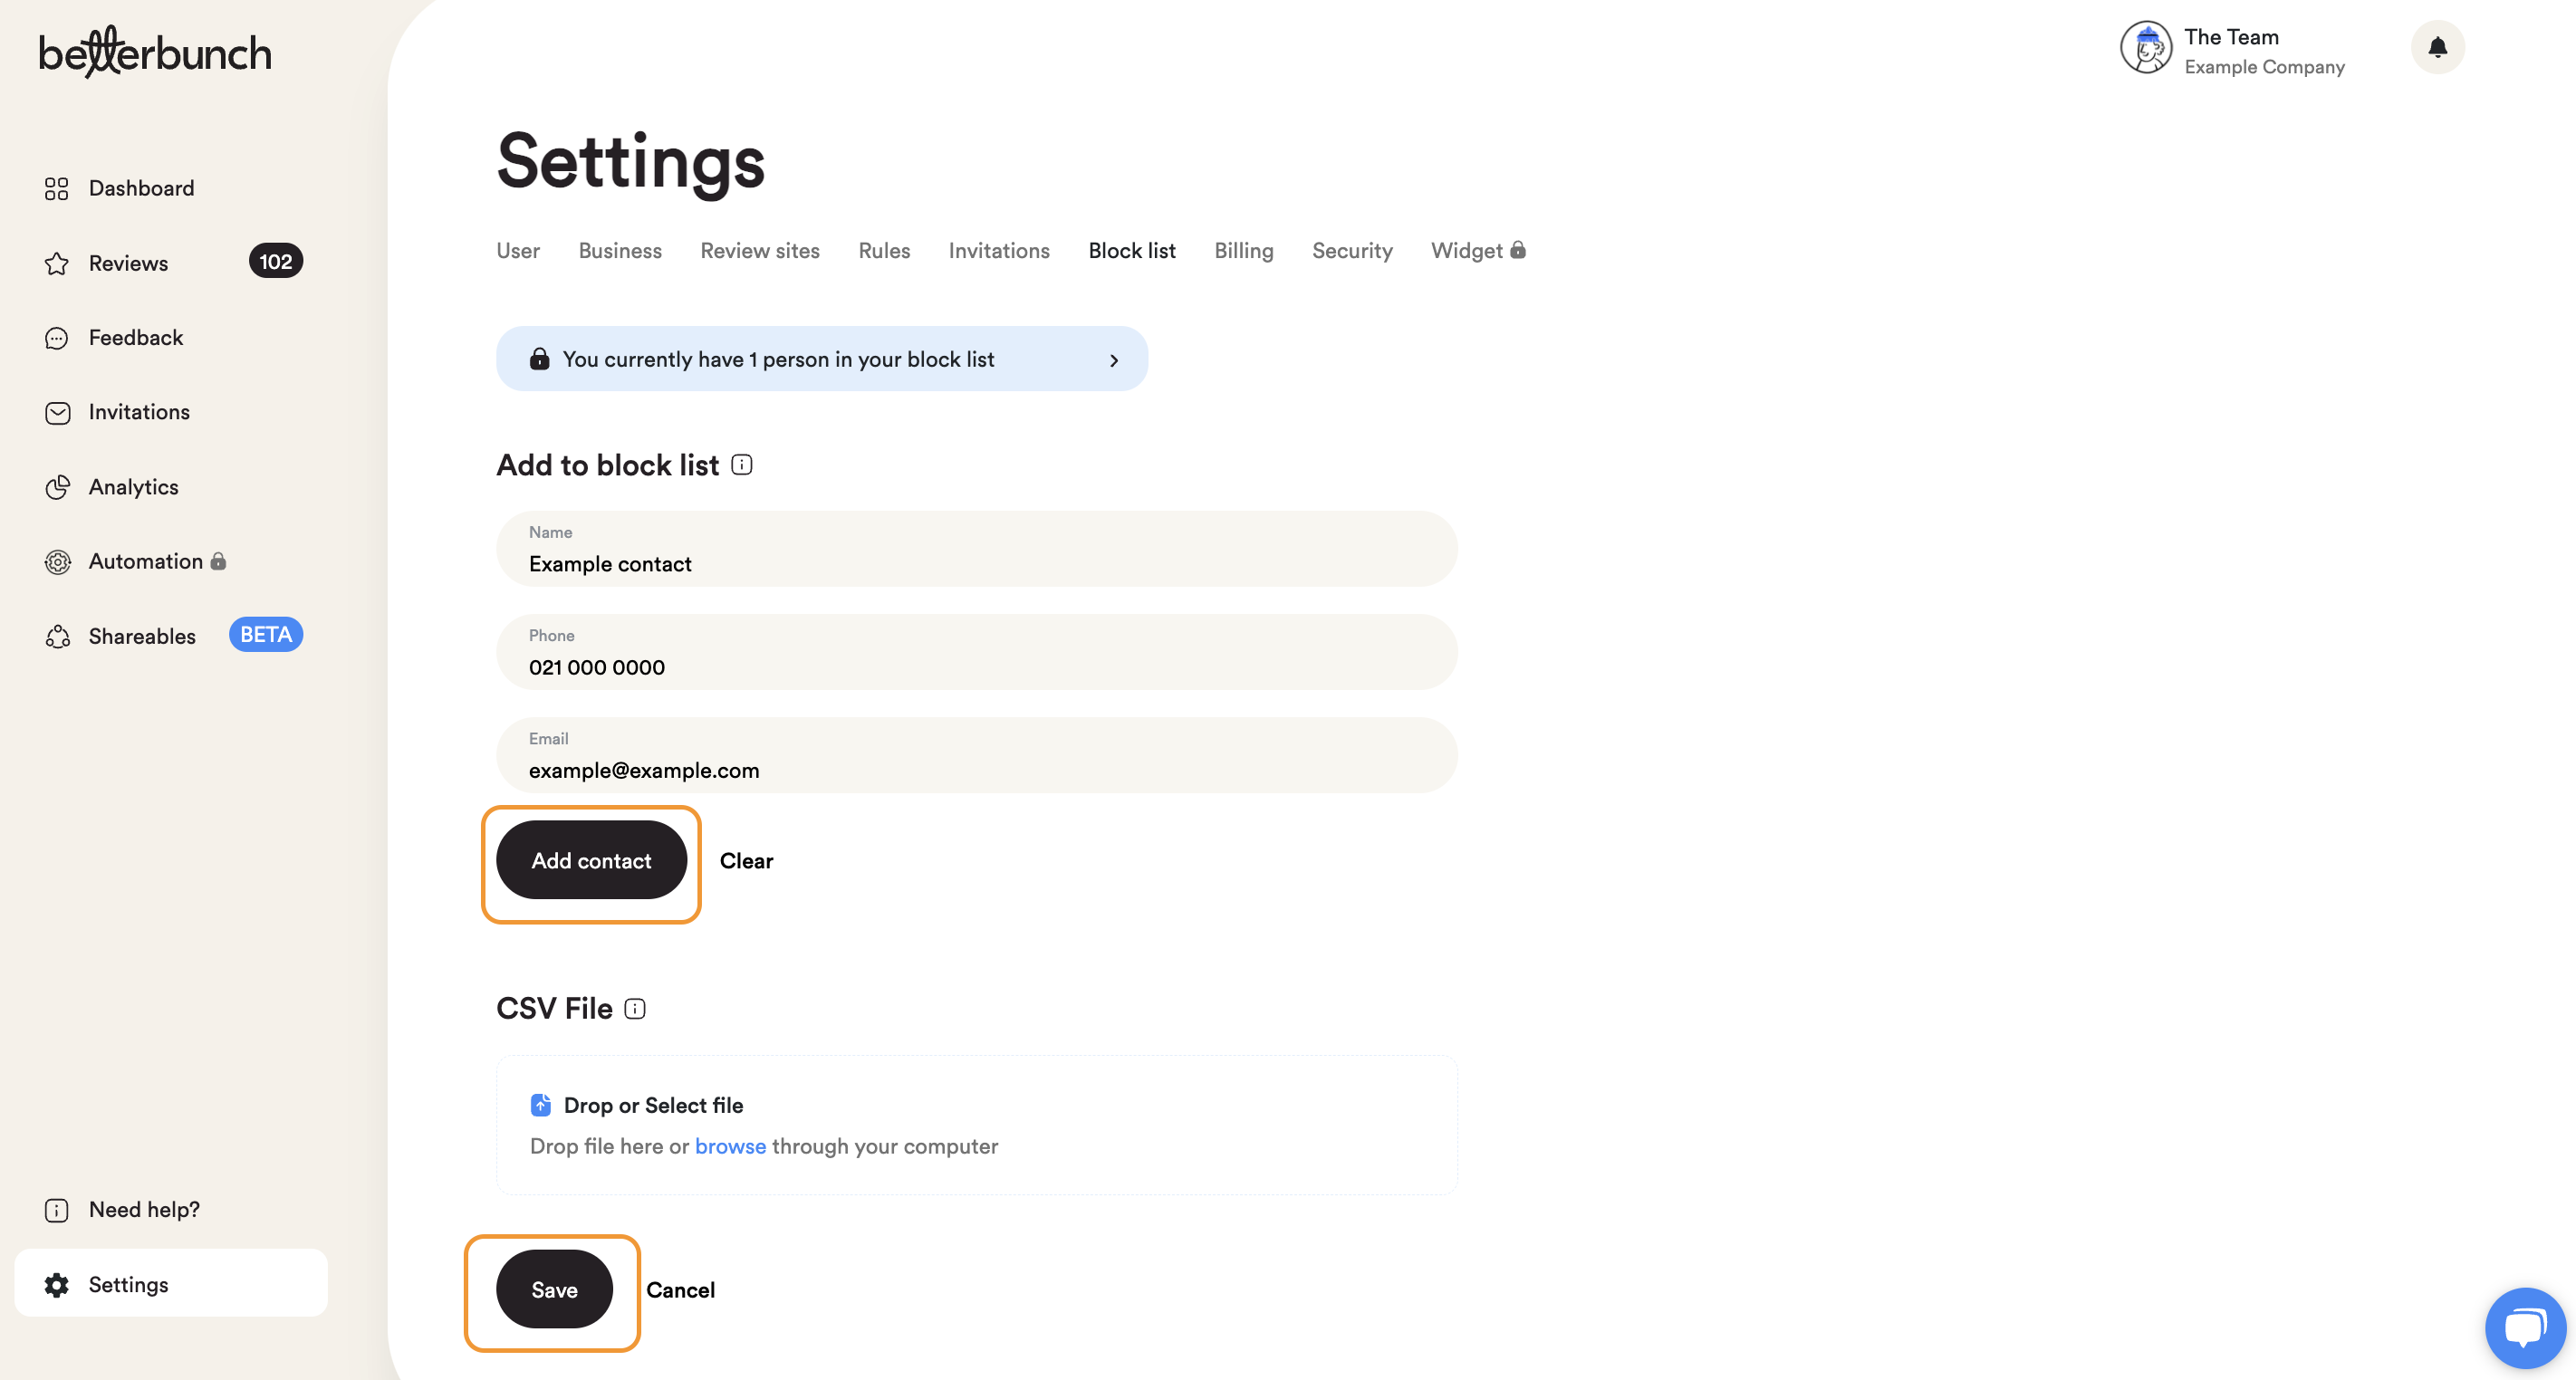
Navigate to the Block list tab
- Type the contact name, mobile number and/or email address into the text boxes.
-
Select Add Contact
Adding a list of contacts to the block list
Importing a CSV file is a simple way to add multiple contacts to your block list at once.
-
Create a spreadsheet of contacts you'd like to add to your blocklist.
- Format the spreadsheet to meet the requirements for import files.
-
Login to your betterbunch account.
-
Navigate to the Settings page on the bottom left of your dashboard
-
Open the Block list tab
- Select Browse or drag and drop your CSV file into the box
- Click Save. to import the list
Note: You can check your blocklist customers at any time by clicking 'You currently have X people in the blocklist' from the top of the blocklist page.