Remove contact names from invitations
Learn how to remove your contact name from their betterbunch invitation
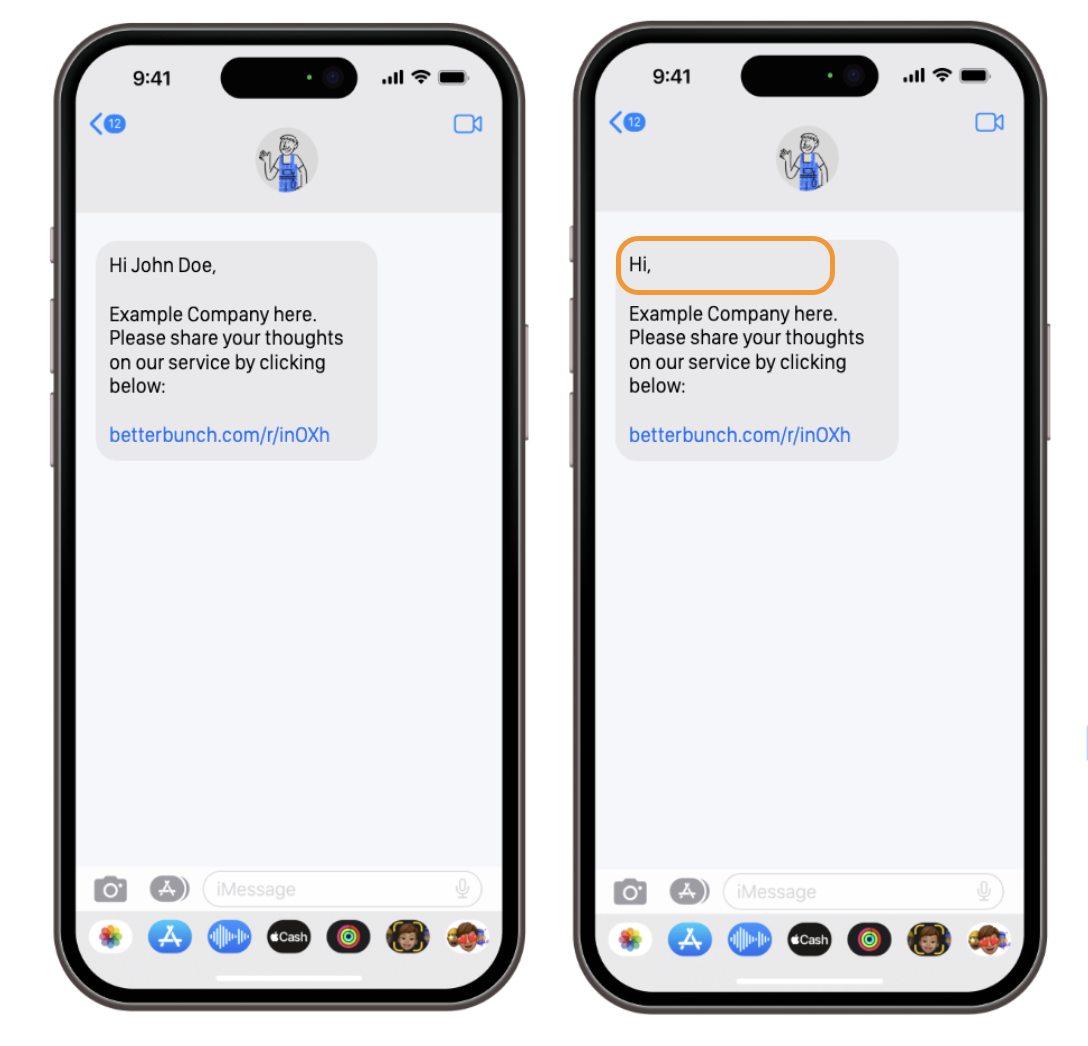
Including contact names in your betterbunch invitations helps personalise the message, which increases the likelihood of a contact interacting with your invite.
However, if your contact data is unreliable, then you may choose to remove the contact name from your invitation messaging. For example, your job management software may include first and last name in the 'first name' field, causing the betterbunch invitation to read "Hi Mr John Doe". 
Follow the guides below to remove customer names from your invitations:
- Removing names from invitations created via Automation
- Removing a contact name from a single invitation
- Removing names when sending invites to a list of contacts
Removing names from invitations created via Automation
-
Login to your betterbunch account.
-
Navigate to the Settings page on the bottom left of your screen.
-
Open the Invitations tab.
- Click the Select a template menu, and choose Custom 1 from the dropdown menu.
- Remove the {recipient_name} text from the textbox.

- Click Update default SMS template to save your default SMS.
- Click the Select a page to edit menu, and choose Email template from the dropdown menu.
- Remove the {recipient_name} text from the textbox.
- Click Update default email template to save your default email message.
Removing a contact name from a single invitation
-
Follow these steps to create a single invitation to one customer.
- When filling out the customer details in step 3, simply leave the 'customer name' textbox blank.
Removing names when sending invites to a list of contacts
-
Begin by follow these steps to create a bulk invitation to a list of customers.
- When formatting your CSV file, simply delete the contact name from the name cell if you don't want the name to display in their invitation.
Tip: Rather than deleting the customer name, consider updating it to the correct name. For example, you may change "Mr John Smith" to "John".